本博客 猫叔的博客,转载请申明出处
本系列教程为HMStrange项目附带。
历史文章
- 如何在VMware12安装Centos7.6最新版
- Centos7.6安装Java8
- Centos7.6安装MySQL+Redis(最新版)
- SpringBoot+MySQL+MyBatis的入门教程
教程内容
备注:本系列开发工具均为IDEA
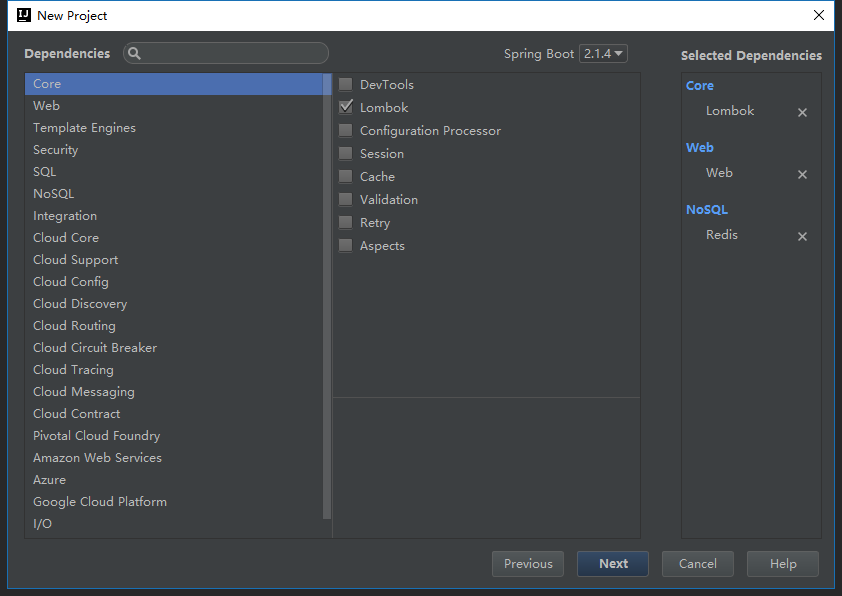
1、构建项目,选择Lombok(后面发现其实没有用到)、Web、Redis三个基本的Maven依赖。
pom文件
<?xml version="1.0" encoding="UTF-8"?>
<project xmlns="http://maven.apache.org/POM/4.0.0" xmlns:xsi="http://www.w3.org/2001/XMLSchema-instance"
	xsi:schemaLocation="http://maven.apache.org/POM/4.0.0 http://maven.apache.org/xsd/maven-4.0.0.xsd">
	<modelVersion>4.0.0</modelVersion>
	<parent>
		<groupId>org.springframework.boot</groupId>
		<artifactId>spring-boot-starter-parent</artifactId>
		<version>2.1.4.RELEASE</version>
		<relativePath/> <!-- lookup parent from repository -->
	</parent>
	<groupId>com.github.myself</groupId>
	<artifactId>redisdemo</artifactId>
	<version>0.0.1-SNAPSHOT</version>
	<name>redisdemo</name>
	<description>Demo project for Spring Boot</description>

	<properties>
		<java.version>1.8</java.version>
	</properties>

	<dependencies>
		<dependency>
			<groupId>org.springframework.boot</groupId>
			<artifactId>spring-boot-starter-data-redis</artifactId>
		</dependency>
		<dependency>
			<groupId>org.springframework.boot</groupId>
			<artifactId>spring-boot-starter-web</artifactId>
		</dependency>

		<dependency>
			<groupId>org.projectlombok</groupId>
			<artifactId>lombok</artifactId>
			<optional>true</optional>
		</dependency>
		<dependency>
			<groupId>org.springframework.boot</groupId>
			<artifactId>spring-boot-starter-test</artifactId>
			<scope>test</scope>
		</dependency>
	</dependencies>

	<build>
		<plugins>
			<plugin>
				<groupId>org.springframework.boot</groupId>
				<artifactId>spring-boot-maven-plugin</artifactId>
			</plugin>
		</plugins>
	</build>

</project>
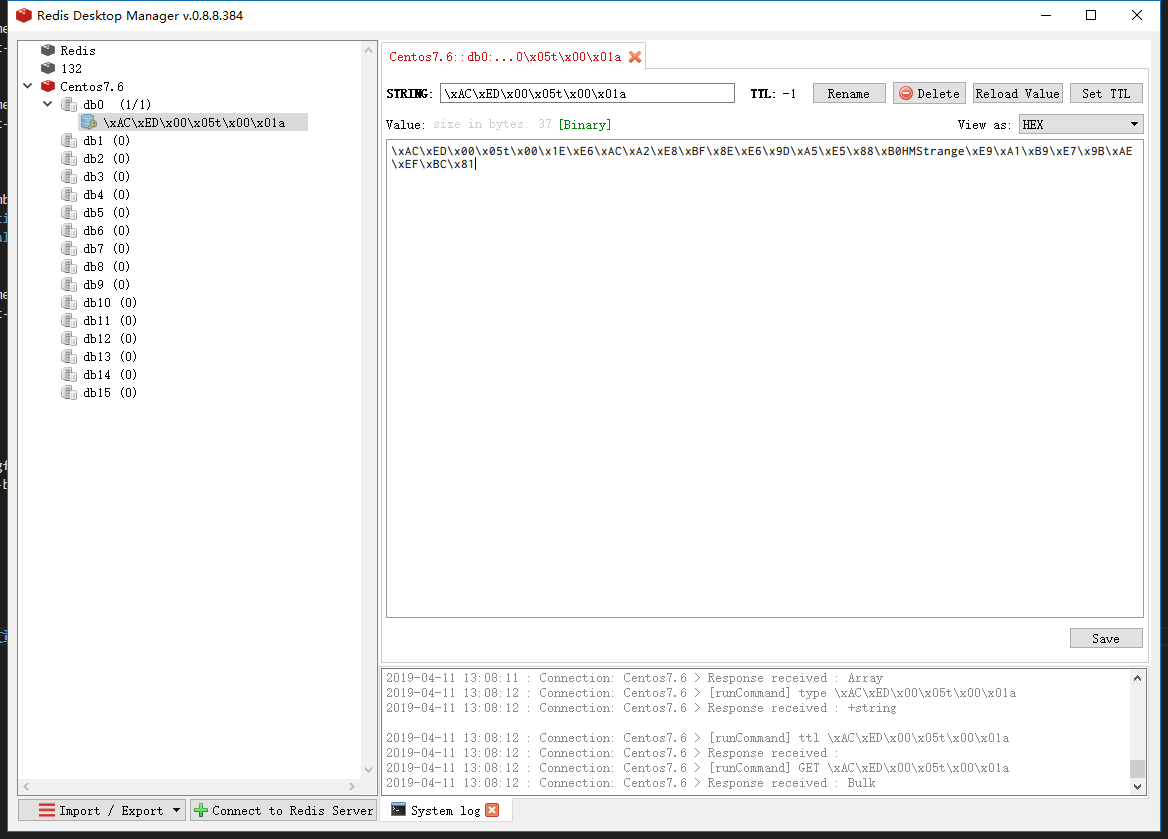
2、准备Redis,这里可以参考历史文章的安装Redis环节,我使用Redis Desktop Manager桌面工具进行链接
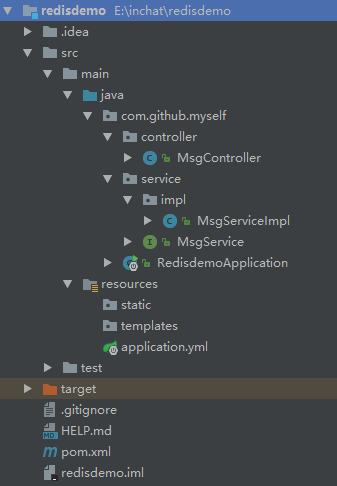
3、构建项目目录,我构建了一个普通的web项目目录,切了dao层,仅仅由service、controller
4、填写application.yml,默认生成不是yml,不过我觉得yml视觉效果好一些,就改了一下,我们需要填写Redis链接信息
spring:
  redis:
    host: 192.168.192.133
5、构建service接口,这里普通实现两个set、get信息的业务
package com.github.myself.service;

/**
 * Created by MySelf on 2019/4/11.
 */
public interface MsgService {

    public String setMsg(String key,String msg);

    public String getMsg(String key);

}
6、接口实现,引入RedisTemplate
package com.github.myself.service.impl;

import com.github.myself.service.MsgService;
import org.springframework.beans.factory.annotation.Autowired;
import org.springframework.data.redis.core.RedisTemplate;
import org.springframework.stereotype.Service;

/**
 * Created by MySelf on 2019/4/11.
 */
@Service
public class MsgServiceImpl implements MsgService {

    @Autowired
    private RedisTemplate redisTemplate;

    @Override
    public String setMsg(String key,String msg) {
        redisTemplate.opsForValue().set(key,msg);
        return "success";
    }

    @Override
    public String getMsg(String key) {
        return (String) redisTemplate.opsForValue().get(key);
    }
}
7、controller层的业务实现了
package com.github.myself.controller;

import com.github.myself.service.MsgService;
import org.springframework.beans.factory.annotation.Autowired;
import org.springframework.web.bind.annotation.GetMapping;
import org.springframework.web.bind.annotation.RequestMapping;
import org.springframework.web.bind.annotation.RequestParam;
import org.springframework.web.bind.annotation.RestController;

/**
 * Created by MySelf on 2019/4/11.
 */
@RestController
@RequestMapping("/msg")
public class MsgController {

    @Autowired
    private MsgService msgService;

    @GetMapping("/set")
    public String setMsg(@RequestParam(value = "key") String key,@RequestParam(value = "msg") String msg){
        return msgService.setMsg(key,msg);
    }

    @GetMapping("/get")
    public String getMsg(@RequestParam(value = "key") String key){
        return msgService.getMsg(key);
    }

}
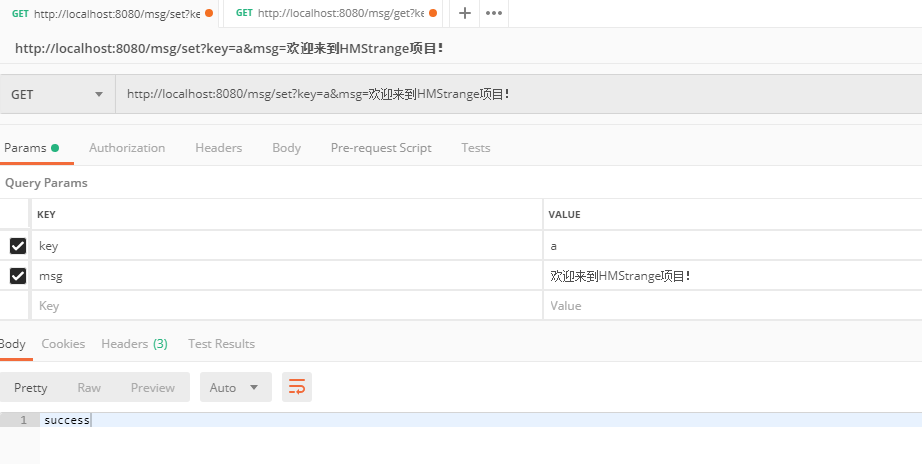
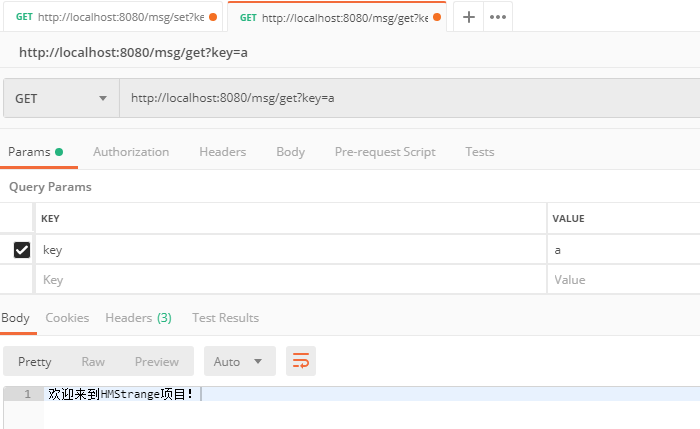
8、启动项目,使用Postmane测试

9、项目下载地址
欢迎到HMStrange项目进行下载:https://github.com/UncleCatMySelf/HMStrange/tree/master/doc/demo/redisdemo
公众号:Java猫说
学习交流群:728698035
现架构设计(码农)兼创业技术顾问,不羁平庸,热爱开源,杂谈程序人生与不定期干货。